
I'm not so sure it's a fad as much as a trend but whatever it is, I've been seeing more and more blogs and magazines showing chalkboard walls of varying degrees and I've decided that I like it. We'll see how I feel when the chalk dust is backlit by the early morning sun streaming in through the windows.
It took me awhile to figure out where to put such a wall. I knew I wanted something small and unobtrusive. I considered my son's closet door but decided against that; I think I may do it if/when I re-do his room. The only other wall that made any sort of sense wasn't even a wall.
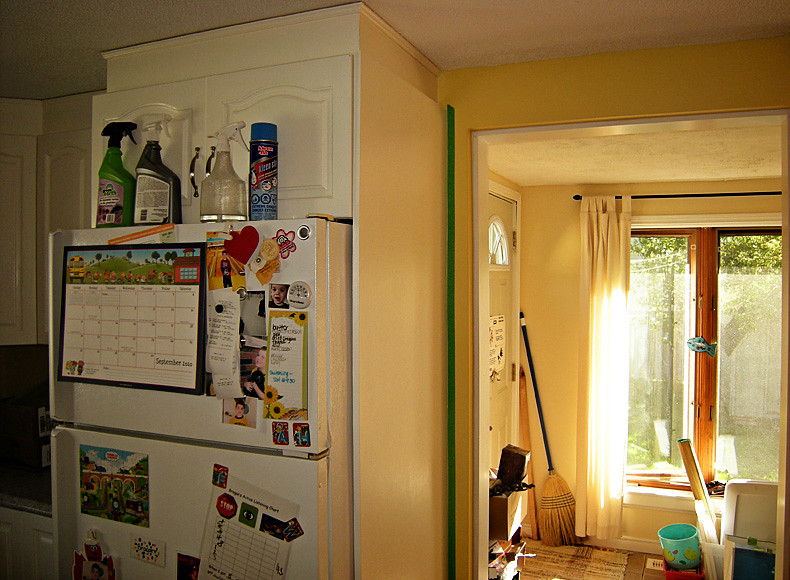
full disclosure clutter photo in the spirit of keeping it real
I decided that the end piece of the cabinet surrounding my fridge was the only logical place for a chalkboard wall. Reaching from the floor almost to the ceiling, it provides a clear, unobstructed surface and is in the perfect location - out of the way. There's a long wall immediately to the right of this picture, which runs parallel to the soon-to-be chalkboard wall, and runs all the way along the open-ish kitchen to the living room. The room behind is the back entrance, our main entrance, and to the right of that window overlooking the backyard are the stairs to the basement.
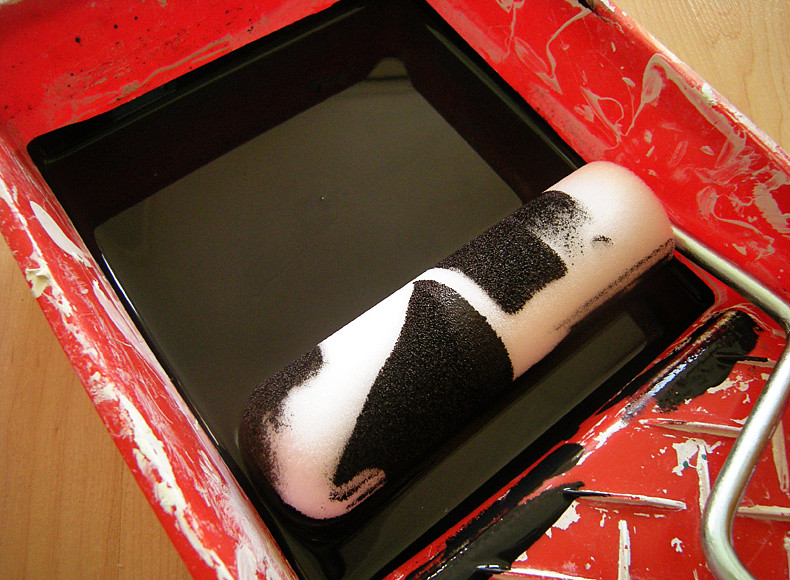
I ran a strip of painter's tape along the wall and took a deep breath before I opened the can of paint. It was a good thing I did because I am uneducated in the school of chalkboard paint and I nearly died when I saw what was under the lid.

Blue!! A dusky dark-ish blue but still blue! I double-checked the box, sure that I had only seen green and black at the store and indeed, the box read "black finish". I looked again. No way was that black. It was blue. I sighed, dropped my shoulders, and went off to find something to stir my blue paint with. I found a tongue depressor (a clean one) and started stirring. I stirred. And stirred. Holding my tongue depressor in the top inch with my fingertips as any lower than that and I'd be stirring the paint with my fingers too. I thought I saw a faint hint of black swirling in the blue so I stirred some more. I must have stirred for five full minutes before the paint turned black. It was quite uncomfortable during the process as the angle and hold of the stirring stick was very awkward but once it was over, it didn't matter. I had black paint.

There's no turning back now!
I can't roll a thick coat of paint to save my life. The box read, "If more than one coat is needed, apply second coat after four hours." I needed three coats, thankyouverymuch, and I only waited about two hours between the first two; the third coat went on about five hours after the second. I had some windows open so maybe that helped. The box also said it would be dry to the touch in 30 minutes but it was dry in about 15 as far as I could tell.
I have a tiny bit of tidying up to do where the cabinet meets the wall. There is a bead of caulk there and the paint dabbed under the tape in a few spots. I'll have to run another bead to clean it up. All in all though, it was a very quick and simple project and I'm surprised it was so easy to take the leap to painting black on my white cabinets. Oh the horror! I just painted them last year, covering over a very orange-y/red cherry wood. Leap of faith, and all that, right?


0 comments:
Post a Comment
Comments on posts older than 10 days will be moderated. Your comment may take some time to appear on this blog.